fsk-geo
Description
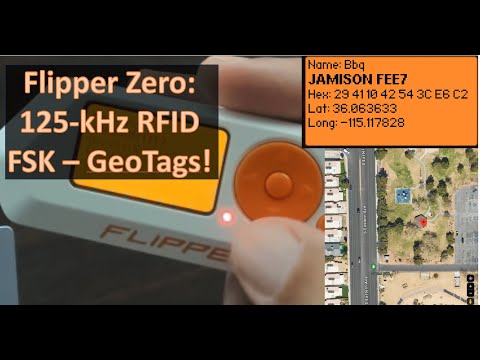
This is a simple project that adds a new protocol to the Flipper Zero low-frequency RFID. This gives the Flipper Zero the ability to read and write low-frequency RFID tags that contain Geolocation information. The data is transmitted using FSK (Frequency Shift Keying) modulation. When a tag is read, the data is decoded and the latitude and longitude is displayed on the Flipper Zero screen.
Installation
To install this project, you will need to have a Flipper Zero and clone the firmware that you are using.
On Official firmware:
git clone --recursive https://github.com/flipperdevices/flipperzero-firmware.gitcd flipperzero-firmware
For other firmware, see my wiki.
Copy the two files (protocol_demo_fsk_geo.c and protocol_demo_fsk_geo.h) from this project into the lib/lfrfid/protocols directory of the firmware that you are using.
Add the text LFRFIDProtocolDemoFskGeo, above the entry LFRFIDProtocolEM4100, in the lib/lfrfid/protocols/lfrfid_protocols.h file.
Add the text #include "protocol_demo_fsk_geo.h" above the entry #include "protocol_em4100.h" in the lib/lfrfid/protocols/lfrfid_protocols.c file.
Add the text [LFRFIDProtocolDemoFskGeo] = &protocol_demo_fsk_geo, above the entry [LFRFIDProtocolEM4100] = &protocol_em4100, in the lib/lfrfid/protocols/lfrfid_protocols.c file.
Compile the firmware and flash it to your Flipper Zero.
- Run the command
./fbt COMPACT=1 DEBUG=0 FORCE=1 flash_usb_full - or in VS Code, run
Terminal -> Run Task -> Flash (USB, w/Resources)
Geolocation data
In Google Maps, you can right-click on a location and copy the latitude and longitude of that location. You can then load https://www.onlinegdb.com/UHHaOKrpj. Click the Run button and paste the latitude and longitude into the text box. The program will output the 8-bytes of data that you can use to write to the RFID tag.
Flipper Zero
Creating a LFRFID file...
On the Flipper Zero, select 125 kHz RFID, Add Manually, then JAMISON F337.
Enter the 8 bytes of data that represent the latitude and longitude, then click Save.
Writing a tag to a T5577...
On the Flipper Zero, select 125 kHz RFID, Saved, then select the file you created previously. Place a T5577 tag against the back of the Flipper and choose Write. You should see a Success message once the tag has been written.
Emulating a tag...
On the Flipper Zero, select 125 kHz RFID, Saved, then select the file you created previously. Choose Emulate. You can now place the Flipper Zero against a reader and it will read the latitude and longitude data.
Reading a tag...
On the Flipper Zero, select 125 kHz RFID, Read. Place the tag against the back of the Flipper (or use another Flipper that is emulating the tag) and you should see the latitude and longitude displayed on the screen.
Protocol format
- 125kHz, FSK2a, RF/50, FC/8, FC/10
- Preamble: 0xF337
- Data: 8 bytes (first 4 bytes are latitude, last 4 bytes are longitude)
- Checksum: XOR of the 8 bytes of data
NOTE: The 4-bytes are just float values that are cast to a 4-byte integer.
Support
The best way to get support is to join the Flipper Zero Tutorials (Unofficial) Discord community. Here is a Discord invite to join my Flipper Zero Tutorials (Unofficial) community.
If you want to support my work, you can donate via https://ko-fi.com/codeallnight or you can buy a FlipBoard from HackItHackin with software & tutorials from me (@CodeAllNight).